Nude nails have become a staple in the manicure world. These natural and sophisticated shades add a touch of understated elegance while adapting to any occasion. If you’re passionate about nail art and looking for ideas to enhance your hands with neutral colors, stay tuned! In this guide, Maryton Nail Supply gives you some practical tips for achieving the perfect manicure.
Why Go Nude Nails?
Going nude means opting for simplicity and sophistication at the same time. Nude shades are ideal for those seeking an elegant look without being too flashy. Here’s why they’re so popular:
- Versatility: Neutral colors pair perfectly with any outfit or occasion, whether it’s a formal or casual event.
- Easy maintenance: Nude shades tend to hide imperfections better than bright colors.
- Natural elegance: This style is perfect for a polished, minimalist look.
A natural look as an asset
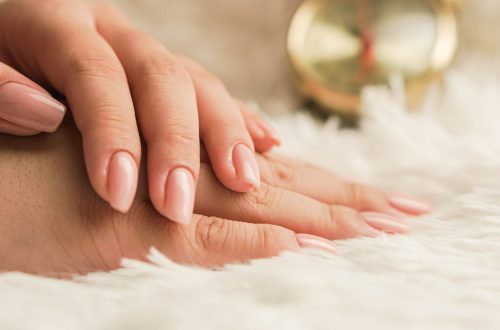
Nude nails highlight the natural beauty of your hands. A light nail polish can bring out the healthy, pink color of your fingers, giving a clean and well-groomed appearance.
Plus, nude shades give a feeling of lightness that visually elongates the fingers. It’s a perfect trick to slim down your hands without resorting to flashy artifice.
How to choose your ideal nude shade?
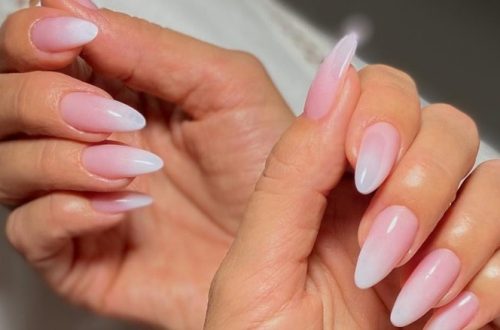
There is an incredible variety of nude shades, ranging from pinkish beige to caramel brown. Choosing the right shade can seem complicated, but here are some simple tips to help you:
- Your skin undertones: Identify whether you have warm (golden, yellow) or cool (pink, blue) undertones. Opt for nudes with similar undertones for a harmonious look.
- Try-on: Test several shades on your nail to see which one blends best with your skin tone.
- Context: Consider the occasion: a very light nude may be perfect for work, while a darker shade may be appropriate for a chic evening.
Tips for testing shades
When testing different colors, apply a small amount of polish to the edge of each nail. Then compare them in natural light, as this shows the true nuances of the colors. Don’t hesitate to ask friends or even on manicure forums for advice.
If you’re new to this world, start with clear or lightly tinted nail polishes before moving on to more pronounced colors. This allows for a smooth transition while exploring this new aesthetic.
Manicure techniques to enhance your nude nails
Now that you’ve chosen your ideal shade, it’s time to talk about technique. Here’s how to achieve a perfect nude manicure step by step:
Nail Prep
Proper preparation is essential for a flawless result. Start by cleaning your nails, removing any old nail polish with a gentle nail polish remover. File your nails to achieve the desired shape, and push back the cuticles with a wooden stick.
Also, remember to lightly buff the nail surface to remove any unevenness. Then apply a clear base coat to protect your nails and allow the polish to adhere better.
Discover the best manicure sets to better prepare your nails.
Nail Polish Application
To apply nail polish, start with a thin, even coat. Let it dry completely before applying a second, thicker coat. This will ensure an intense and even color.
Finish with a top coat to extend the life of your manicure and add shine. Think of it as the secret to long-lasting, vibrant results!


Very good https://lc.cx/xjXBQT
Awesome https://is.gd/N1ikS2