Let me tell you about the first time I tried to put together my own manicure toolkit. I ended up buying a cheap drugstore set, then a few random files from a beauty supply, then some cuticle nippers I found on sale. Nothing matched. Nothing fit together. Within a month, half the tools were rusted and the other half had disappeared into various drawers. What I really needed from the start was a nail kit — a complete set of tools designed to work together.
Here‘s what I’ve learned about what nail kits are, what they contain, how to pick the right one, and the mistakes to avoid.
What Is a Nail Kit?
A nail kit is a curated set of tools and supplies designed to help you maintain clean, healthy, and beautiful nails. It‘s like a toolbox for your fingertips — everything you need in one organized package instead of scattered across five different drawers. A basic kit typically includes nail clippers, files, buffers, and cuticle pushers for everyday grooming.
More complete kits go further. Advanced versions may include scissors, tweezers, cuticle nippers, nail brushes, and even storage cases that keep everything organized. The real value isn‘t just the tools themselves — it’s that they‘re designed to work together, and they come in a portable, easy-to-store format that makes nail care convenient whether you’re at home or traveling.
What Does a Complete Nail Kit Typically Include?
While kits vary widely by brand and purpose, most quality nail kits share a core set of essentials:
Nail Clippers: The foundation of any kit. Look for sharp stainless steel with precision blades. Many quality kits include two sizes — one for fingernails and a larger pair for toenails.
Nail Scissors: Curved or straight blades for trimming hangnails and making precise cuts that clippers can‘t manage.
Cuticle Pusher: A double-ended tool with one flat side for pushing back cuticles and one pointed side for cleaning under the nail edge.
Cuticle Nipper: Small, sharp scissors designed to trim only loose, dead skin. Quality nippers make clean cuts without tearing.
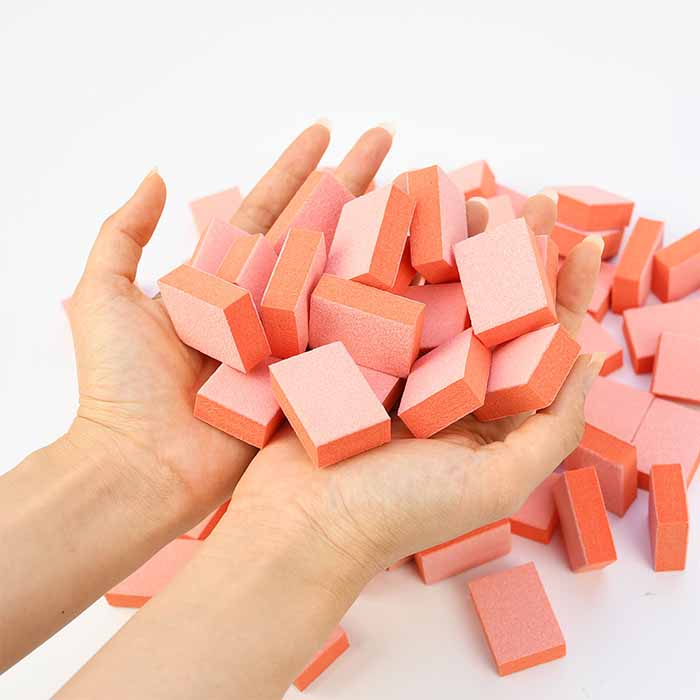
Nail Files and Buffers: A mix of grits — typically 100, 180, and 240 grit — for shaping, smoothing, and finishing. Nail buffers smooth the nail surface and can create a natural shine without polish.
Nail Brush: A small brush for cleaning under and around nails before starting.
Tweezers: Slanted or pointed tips for picking up small items, placing nail art embellishments, or removing splinters.
Base Coat and Top Coat: These are often included in polish-focused kits, providing protection underneath and glossy sealing on top.
Cuticle Oil: More of a care product than a tool, but it’s included in better kits. It hydrates, promotes growth, and prevents painful hangnails.
Storage Case: A case or pouch that keeps tools organized, protected, and portable — especially important for preventing damage when traveling.
Beyond these basics, specialized kits add tools for specific purposes. Gel nail kits include a UV or LED lamp and gel polishes. Acrylic nail kits include monomer liquid and polymer powder. E-file kits include an electric nail drill with multiple interchangeable bits. Extension kits include nail tips, forms, and builder gel or polygel.
How to Choose the Right Nail Kit for Your Needs
With so many options on the market, choosing the right kit comes down to answering a few key questions about yourself.
First, assess your skill level. If you‘re a complete beginner, look for a basic kit that includes just the essentials — clippers, file, buffer, cuticle pusher, and nipper. Starting with fewer tools helps you learn proper technique without feeling overwhelmed. If you already know your way around basic nail care, consider a more complete kit with professional-grade tools and additional items like scissors, tweezers, and a storage case. If you’re a professional or serious enthusiast, look for a kit that offers multiple clippers, files in various grits, and specialized tools for specific techniques.
Second, identify your nail goals. Are you focusing on basic grooming and polish application? A standard manicure kit with clippers, files, and cuticle tools is all you need. Are you planning to do gel manicures at home? You’ll need a kit that includes a UV or LED lamp, gel polishes, base coat, and top coat. Are you interested in nail extensions or acrylics? Look for a kit that includes monomer, polymer powder, nail forms or tips, and a professional-grade acrylic brush.

Third, check material quality. Always prefer stainless steel tools. Stainless steel resists rust, holds an edge, and can be properly sanitized. Avoid kits with plastic tools — they dull quickly and can‘t be cleaned effectively. Professional-grade stainless steel feels solid in your hand and gives clean, precise cuts.
Fourth, consider ergonomics. Comfortable handles prevent hand fatigue, especially if you’ll be using the tools for extended periods. Tools should feel balanced and natural in your grip.
Fifth, balance budget with value. Cheap kits filled with flimsy tools will frustrate you and need replacement quickly. Mid-range kits often offer the best balance — quality materials without a luxury price tag. Professional kits are an investment but last for years with proper care.
What to Avoid: Common Mistakes When Using a Nail Kit
Even with a great kit, it‘s easy to make mistakes that weaken your nails or ruin your results. Here are the most common pitfalls and how to avoid them.
Mistake #1: Skipping nail prep. Prepping your nails means more than just washing your hands. Always clean under nails with a nail brush, push back cuticles, and — crucially — wipe the nail plate with a dehydrator or rubbing alcohol to remove oils. If you skip this step, oils and dust will stop your polish from sticking, and your manicure won‘t last.
Mistake #2: Overcutting your cuticles. This is the number one mistake beginners make. Cuticles are the protective seal around your nail — cutting them invites infection and can damage future nail growth. Only use cuticle nippers to trim loose, dead skin flaps that are already detached. Never cut living tissue. If you can‘t tell the difference, skip the nippers entirely and just push back cuticles gently after softening them in warm water.
Mistake #3: Over-filing or buffing too harshly. Aggressive filing thins the nail plate and makes nails weak and sensitive. Use gentle pressure and a fine-grit file on natural nails. Over-buffing is equally damaging — two or three light passes are plenty.
Mistake #4: Trimming nails incorrectly. Always clip nails straight across, especially toenails. Rounding the corners invites painful ingrown nails. For fingernails, you can gently soften the corners, but never cut them sharply curved.
Mistake #5: Neglecting tool hygiene. Metal tools need regular cleaning. Wash them with soap and warm water after each use, then wipe with rubbing alcohol to disinfect. Store them in a dry case to prevent rust. Never share your nail tools with others — bacteria and fungi spread easily.
Mistake #6: Skipping cuticle oil after finishing. Dry cuticles ruin the look of even a perfect manicure. Apply cuticle oil daily — morning and night — to keep the skin around your nails flexible, healthy, and beautiful.
The Bottom Line
A well-chosen nail kit is one of the best investments you can make for your nail care routine. It brings together essential tools in one organized package, saves you from hunting through drawers, and — most importantly — gives you everything you need to maintain healthy, beautiful nails without constant salon visits. Start with a kit that matches your current skill level and goals. Focus on quality over quantity. Learn to use each tool properly. And with consistent care, you‘ll see results that look like they came from a professional.
Do you have a nail kit that changed your manicure game? Or a question about choosing the right one? Drop your experience in the comments — I‘d love to hear what works for you.
Read also: Why Brown Semi-Permanent Nail Polish is a Must-Try

